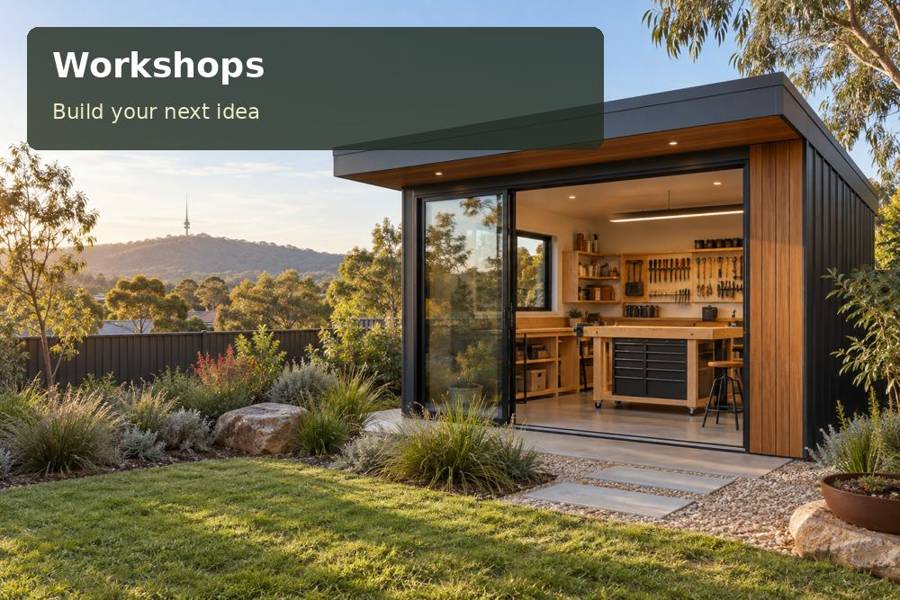
Plan a Bathurst framing workshop with a clean layout bench, organised moulding samples and a practical sequence from measurement to assembly.
Picture framing combines careful measurement with a strong sense of presentation. A dedicated workshop in Bathurst can make that process more orderly by separating incoming artwork, sample selection and frame assembly. Whether the work centres on family photographs or a growing personal collection, a purposeful pod gives every stage its own place. The design should protect the clean handling of artwork while providing a practical setting for the tools and materials actually used.
Use Bathurst's visual character as a starting point
Historic buildings, riverside landscapes and local streets offer varied subjects for photographs and prints. Bathurst's council heritage maps can help identify places of interest, but the workshop itself needs to respond to its immediate garden setting. A quiet external palette and proportionate roofline can sit comfortably beside the house while the interior remains focused on precise work.
Prepare a transport sketch before deciding how the workshop will be fabricated. Long moulding lengths and sheet materials need a route into the room as well as space inside it. Check the approach from the street, the opening at the garden gate and the workshop entrance. A generous bench has limited value if larger supplies cannot reach it conveniently.
Keep artwork handling apart from cutting
A framing room benefits from a clean bench used for examining the image, comparing mount colours and setting out the final composition. Position material preparation separately so that dust and offcuts do not share the same surface. The amount of separation needed depends on the tools and the scale of the work; explain both in the initial design brief.
For a New South Wales workshop proposal, describe any machinery, business activity and expected visitors to the relevant project advisers. Equipment requirements, noise and ventilation should be assessed from the actual work process. A room intended for careful hand assembly will have a different arrangement from one containing powered cutting equipment.
Compare the principal work stations
| Station | Role in the process | Planning detail |
|---|---|---|
| Receiving shelf | Holds artwork awaiting attention | Protected placement and item size |
| Sample display | Supports colour and moulding selection | Clear labels and useful viewing light |
| Clean layout bench | Establishes the final composition | Largest intended frame dimensions |
| Assembly area | Brings prepared components together | Tool access and unobstructed movement |
Ask the artisan building the benches to explain the supporting frame and working height. A surface that flexes or rocks can undermine otherwise careful measurement. Storage should distinguish short samples from longer lengths, and allow either to be retrieved without sweeping across artwork. Discuss the handling of glazing and sharp components with the people selecting the equipment and fitting out the room.
Make detail visible and the environment manageable
Even lighting helps reveal alignment, surface marks and colour relationships. Position fittings to limit shadows cast by the user's hands, and keep strong reflections away from the viewing position. Daylight can be valuable for evaluating a piece, but direct sun should not fall across artwork awaiting completion. Shading and window placement deserve the same attention as the bench.
Bathurst's inland seasons make a coordinated comfort strategy worthwhile. Consider the construction fabric, glazing and ventilation before choosing supplementary heating or cooling. Materials should be stored in conditions suitable for their intended use; particularly valuable works may require specialist advice beyond the scope of an ordinary workshop. Include cleaning access beneath and behind the work stations so routine housekeeping remains realistic.
- Label sample lengths with a consistent reference system.
- Allocate a separate container for small reusable offcuts.
- Keep incoming and completed jobs clearly distinguished.
- Provide an uncluttered position for measuring larger pieces.
- Reserve wall space for drawings and project notes.
Prepare the framing workspace in five stages
- List the maximum artwork sizes and the equipment you intend to use.
- Draw the receiving, layout and assembly sequence on the proposed floor plan.
- Confirm material delivery, entrance dimensions and the foundation approach.
- Coordinate bench construction, storage, electrical fittings and ventilation.
- Complete a representative frame and adjust smaller storage details after testing.
Give careful work a more professional setting
Review the workshops options with your largest project dimensions and a clear description of the framing process. A room planned around clean handling, reliable surfaces and accessible materials can make daily work more satisfying. It also gives finished photographs and prints the considered presentation they deserve.
