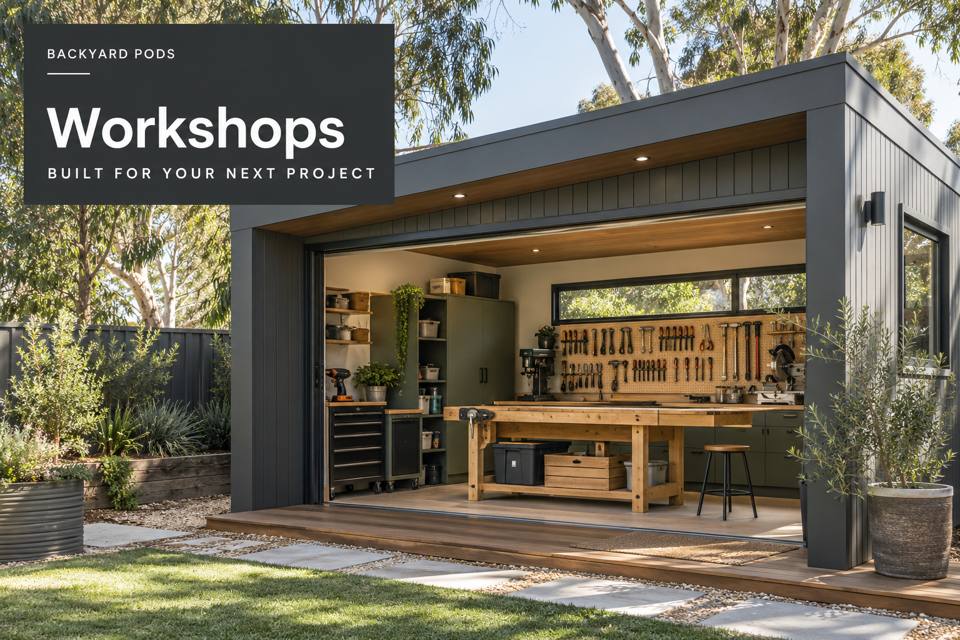
Plan a Forster workshop for small display plinth projects with measured assembly space, labelled components and a clear finishing workflow.
Small display plinths require careful measurement, square assembly and a finish appropriate to their eventual use. In Forster, a workshop pod can provide a dedicated place for this kind of practical craftsmanship when the intended tools and activities are clearly described. Start by defining the typical project rather than collecting equipment first. The building layout should support materials arriving, components being prepared and the finished piece being checked without those stages competing for the same crowded surface.
◈ Use a representative plinth as the planning unit
Forster's lake and ocean setting gives the locality a distinctive character, while the workshop needs an address-specific review. Record its relationship to the house, neighbours and delivery route. Describe whether projects are personal or part of a business activity. Equipment, working hours and material movements belong in the brief because they influence the proposal beyond the size of the building alone.
Draw the largest plinth normally made and list its components. Include the space occupied by clamps, assembly aids and a person moving around the work. A bench can accommodate the footprint of a box yet leave insufficient room to check alignment or work on its sides. Trial the sequence using a temporary layout before deciding on fitted surfaces.
Keep preparation and assembly distinct
Identify which tasks require specialist machinery and obtain suitable professional advice about the tools, dust control, electrical supply and working environment. Follow equipment instructions and relevant safety guidance. The workshop description should not imply that a generic pod automatically suits every fabrication process. A clearly defined task list lets the project team assess the actual requirements.
Store prepared parts with labels that identify their project and orientation. An assembly area should remain available for checking fit, rather than becoming overflow storage. Ask the carpenter about bench support, working height and durable edges. If finishes are applied, describe the products and process separately and seek appropriate advice for handling, ventilation and storage.
▦ Organise the plinth-making sequence
| Stage | Craftsmanship objective | Space to establish |
|---|---|---|
| Component review | Confirms dimensions and identity | Clear checking surface |
| Assembly | Brings parts together accurately | Clamp and operator clearance |
| Finish preparation | Supports the specified process | Appropriate professional requirements |
| Final inspection | Checks the completed object | Access around the full piece |
Specify useful light and material handling
Lighting should reveal joints, edges and surface condition without relying on a single dramatic overhead fitting. Review task positions with the operator and electrician. Power and any equipment services must be coordinated for the actual tools. Keep service points accessible after benches and storage are installed, and ensure materials have a defined route through the room.
For an New South Wales workshop, obtain advice on intended use, site conditions and the proposed activity. Have qualified professionals review levels, drainage, supports and component delivery. Clarify which external work is included in the construction scope. The workshop fit-out should be quoted against its real requirements, with equipment installation and specialist systems identified rather than assumed.
Record the fabrication priorities:
- The largest routine plinth and its component dimensions.
- The tools actually used at each project stage.
- Handling and storage guidance for selected finishing products.
- A location for completed pieces awaiting collection or use.
✓ Develop a buildable workshop brief
- Follow one typical plinth project from materials to inspection.
- Measure assembly aids, components and the occupied work positions.
- Obtain appropriate advice on tools, services and finishing processes.
- Coordinate benches, storage and building access with the trades.
- Compare itemised proposals against the complete task sequence.
Give careful making a capable setting
Explore workshops with small display plinths as a defined workshop use. A Forster workspace becomes persuasive when its layout supports accurate assembly and a clear inspection routine. Thoughtful bench construction, labelled parts and professionally coordinated systems turn the room into a practical environment for considered craftsmanship.
