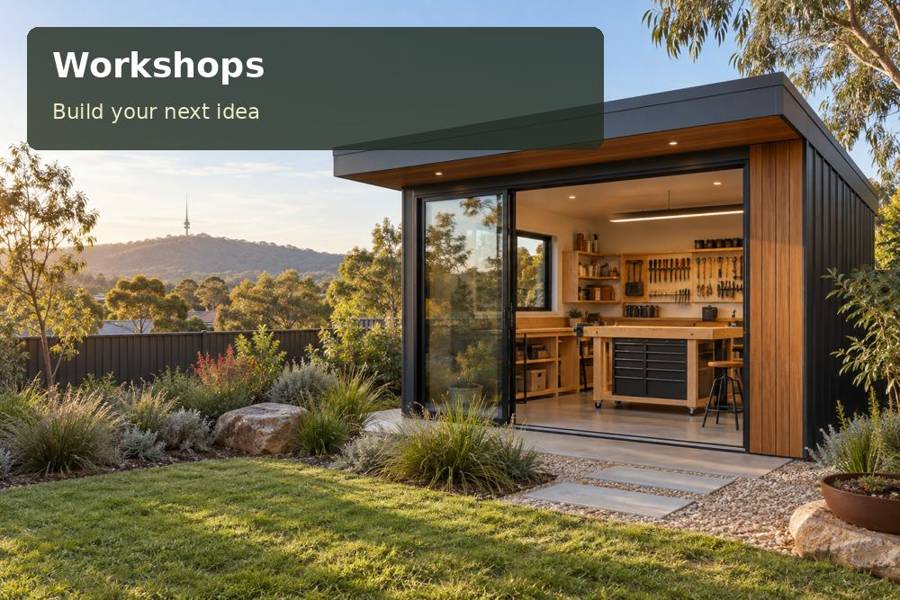
Create a Grafton model-boat workshop with a clean assembly bench, labelled components and protected space for projects between sessions.
Scale boat building rewards patience, accurate alignment and a place where delicate work can remain undisturbed. A workshop in Grafton can support those habits by giving the project a permanent assembly surface and clearly organised components. The room does not need to be crowded with equipment to feel capable. Its strongest features are a stable bench, useful light and enough space to handle the largest model without sweeping smaller parts onto the floor.
Connect the craft with the Clarence landscape
Grafton's position beside the Clarence River offers an engaging local backdrop for an interest in boats and waterways. Its heritage trail also introduces the buildings and streets that form the city's historic setting. A garden workshop can respond with a modest external form and a well resolved material palette, while its interior remains focused on the craft rather than a decorative maritime theme.
Measure the model, its cradle and the longest material lengths before choosing the room size. The entrance must accommodate these pieces during delivery and regular use. Photograph the route from the street to the workshop position, including gate openings, overhead obstacles and the available unloading area. Material handling belongs in the design brief from the start.
Keep assembly separate from preparation
The central bench should provide a clean, stable position for the hull and its supports. Locate material preparation where dust or offcuts will not fall across the assembly. Identify the tools, coatings and adhesives you actually intend to use, then discuss their handling and ventilation requirements with the relevant professionals and product guidance.
For New South Wales workshop projects, describe any powered equipment, noise and proposed commercial activity. A room used for quiet hand assembly has different requirements from a more intensive fabrication space. The project team needs that distinction to assess the building arrangement, services and relationship with nearby properties.
Compare the model-building stations
| Station | Purpose | Measurement to provide |
|---|---|---|
| Hull bench | Supports alignment and assembly | Model length, cradle size and reach |
| Parts drawers | Separates small fittings | Largest component and useful label area |
| Preparation surface | Handles materials before assembly | Tools and expected workpiece dimensions |
| Project shelf | Protects unfinished work | Model height and retrieval route |
Ask the bench maker how the frame and top will provide the required stability. Storage should help distinguish components ready for use from those awaiting adjustment. A shallow, clearly labelled drawer can be more useful than a large bin where small fittings disappear. Reserve a protected position for plans so that measurements can be checked without laying paper across wet or unfinished work.
Light the alignment work carefully
Useful illumination makes it easier to inspect joints, edges and the relationship between parts. Position task lighting so the user's hands do not cast heavy shadows across the assembly. Keep bright reflections away from the viewing angle and assess the bench under evening conditions, when daylight no longer contributes to the room.
Coordinate the electrical supply and outlet positions with the actual equipment layout. Windows, shading, insulation and ventilation should support the local seasonal conditions, with any comfort equipment placed clear of material storage. Plan ordinary cleaning access beneath the bench and around the parts drawers. A workshop is easier to maintain when housekeeping does not require dismantling the current project.
- Store small fittings in labelled, removable compartments.
- Keep a clear measuring area beside the main assembly.
- Protect unfinished models from incidental handling.
- Record the products used on each project.
- Separate clean plans from material preparation surfaces.
Develop the workshop step by step
- List the largest planned model and the tools used to construct it.
- Draw the assembly, preparation and storage sequence at working dimensions.
- Check access for both the building delivery and regular materials.
- Coordinate benches, lighting and appropriate ventilation before installation.
- Complete a representative assembly stage and refine the smaller storage positions.
Give patient craftsmanship a permanent home
Explore the workshops collection with your model dimensions, garden photographs and a clear description of the work process. A purposeful room can reduce repeated setup and make careful projects more enjoyable. The finished workshop should provide the space and order that allow each stage of the build to receive proper attention.
