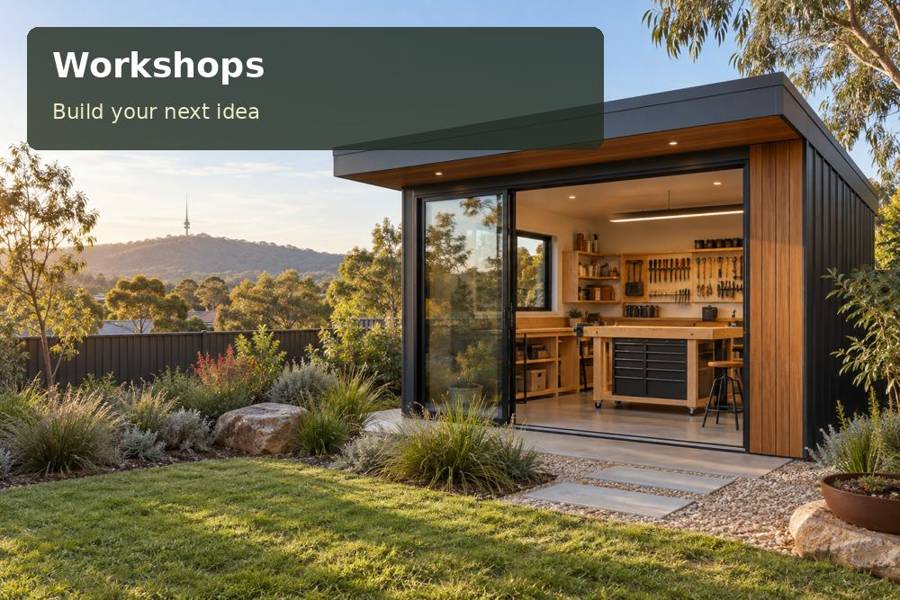
Create a Nelson Bay framing workshop with full-size assembly space, protected mounting materials and a clear route from measurements to checked presentation.
Picture framing begins with the relationship between the image, mount and finished frame. A workshop in Nelson Bay can give those decisions enough space to be examined together, instead of balancing components across several household surfaces. The room should support accurate layout and orderly storage without claiming that every framing process belongs in a general-purpose pod. Define the methods and equipment first, then design the workshop around the work actually proposed.
Use the largest usual frame as the starting point
Measure the outside dimensions of a demanding project and the room needed to work around it. Include the image, mounting material and the tools used during layout. A bench that supports the closed frame may still be too restrictive for preparing and checking the assembly.
Nelson Bay forms part of Port Stephens. Coastal photographs or local artwork may inspire the projects, but the workshop's window should be assessed for working light and privacy at the actual address. A scenic outlook is secondary to a clear view of edges and alignment.
Distinguish layout from retained materials
Mounting sheets need a storage format suited to their size and care requirements. Keep them separate from general equipment and any activity producing debris. Define where a partly completed frame rests so that the main assembly surface can remain useful for the next stage.
| Workshop element | Purpose | Layout decision |
|---|---|---|
| Assembly top | Holds the full project | Largest frame and hand movement |
| Mount storage | Keeps clean materials organised | Sheet dimensions and supported retrieval |
| Component register | Preserves matching parts | Project identity and complete set |
| Checking position | Reviews the final presentation | Useful viewing distance and lighting |
If specialised cutting, finishing or other processes are proposed, discuss their requirements explicitly with qualified advisers. Do not treat a furniture layout as evidence that equipment, extraction or product storage needs have been resolved.
Ask craftsmanship to support accuracy
A carpenter can coordinate the bench's support, level working surface and edge details with the intended activity. Explain where equipment loads occur and which areas must remain free. Include removable protection where the work requires it, with materials chosen for their real function.
Store project components together. A labelled folder or compartment can associate the image dimensions, selected mount and frame pieces, reducing mistakes when work pauses. Keep approved selections distinct from samples still being compared.
- Record the current dimensions for each active project.
- Separate clean mounts from general workshop supplies.
- Provide a measured resting place for incomplete assemblies.
- Keep the entrance clear while the largest frame is on the bench.
Review the complete installation scope
Lighting needs to reveal alignment and surface condition without producing distracting glare. Coordinate electrical supply and equipment requirements with an electrician. A separate viewing position can help examine the completed frame without repeatedly clearing the assembly top.
For New South Wales workshop projects, describe intended processes, attendance and equipment in the brief. Ground levels, supports, water disposal and installation access require assessment of the address. Record the final route for long or bulky components as well as the building delivery itself.
Discuss seasonal room conditions with attention to the materials retained onsite. Ventilation, insulation, shading and any comfort equipment should form a coordinated approach. Preserve servicing access after large sheets and frame components occupy their storage positions.
Develop the framing room in five stages
- Define proposed processes and demonstrate the largest regular project.
- Measure assembly, material storage and final viewing positions.
- Establish project identification and paused-work destinations.
- Coordinate benches, equipment requirements, lighting and site preparation.
- Follow one frame from initial layout to checked presentation in the finished room.
Explore workshops with an example frame and actual mounting sheets. A Nelson Bay framing workshop becomes more useful when generous layout space is paired with traceable components and a clean, deliberate route towards the finished presentation.
