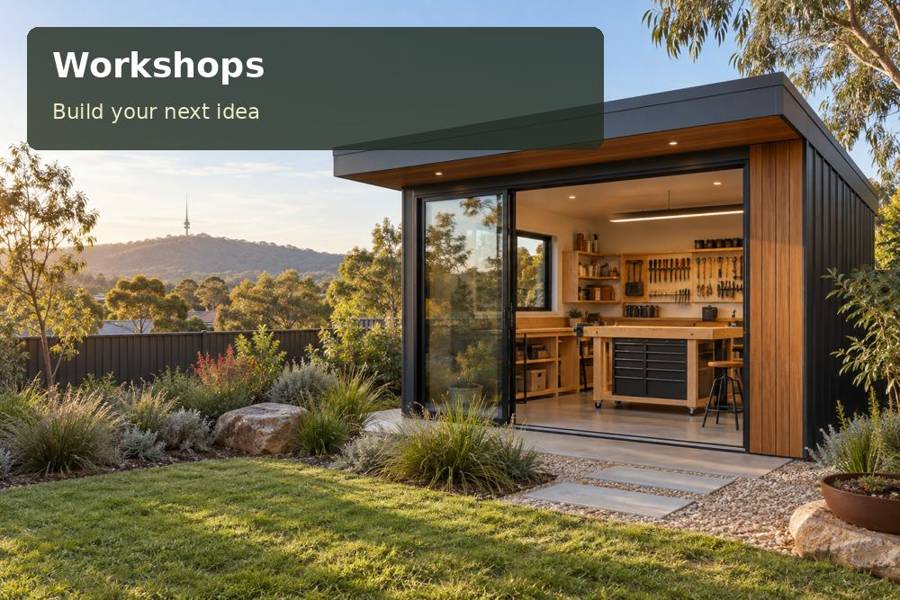
Create a Newcastle kite-making workshop with a long assembly surface, orderly lightweight materials and a clear place to assess finished shapes.
Lightweight objects can require surprisingly generous working space. In Newcastle, a kite-design workshop pod can provide a place to lay out sails, organise suitable framing materials and compare assembled shapes without clearing the household table. The building brief should begin with the largest project and the making methods involved. A well-arranged room can offer real creative freedom through broad surfaces, disciplined storage and clear movement around delicate work.
Use coastal inspiration as a design reference
Newcastle's coastal setting provides a natural creative reference for people interested in wind and movement. That association does not establish the exposure or conditions of a particular backyard, and a workshop does not need a water view to support the activity. At the proposed site, identify sunlight, neighbouring activity and the outdoor route used to move finished pieces.
Among New South Wales workshop proposals, kite assembly favours an interior that can accommodate width as well as length. Measure the spread of the largest sail and any protruding frame components. Consider how an assembled object will pass through the door. The room should be planned around the project at its broadest stage, not only the dimensions of materials in storage.
Organise materials before they become clutter
Light fabric, cords and slender framing pieces can be difficult to retrieve from mixed boxes. Separate supplies by type and project, with storage that suits their dimensions. Long components need appropriate support so they do not obstruct circulation or become damaged through unsuitable stacking. Label current work clearly and reserve a clean surface for comparing patterns.
Describe cutting, sewing, joining and finishing methods in the brief. If powered machinery, adhesives or other products are used, provide operating and handling information to the relevant advisers. Obtain suitable advice on ventilation, electrical installation and equipment requirements. A flexible workshop space should be tailored to the actual process, rather than assumed suitable for every material or device.
Compare the making areas
| Area | Purpose | Dimension or condition to establish |
|---|---|---|
| Pattern surface | Lays out fabric and templates | Largest sail shape |
| Frame assembly zone | Supports lightweight components | Length, supports and working clearance |
| Finished-project position | Allows visual checking before storage | Full assembled width and door route |
Avoid crowding the assessment area with supplies. A finished shape may need to be viewed from a distance or compared with a drawing. Include that viewing position on the plan. If projects are dismantled for storage, organise the components together so the next session does not begin with a search for small parts.
Provide purposeful light and robust detailing
Task lighting can help reveal markings and joins, while general illumination supports movement around long components. Window light should be assessed alongside glare and the placement of storage. A bright glazed wall can be useful, but it may also consume space needed for long-material racks or expose fabrics to conditions that require supplier advice.
Coordinate the construction system with the workshop's use. Your Home describes prefabricated buildings as combinations of roof, wall and floor materials rather than a single finished product. Discuss cladding, insulation, water management and maintenance access with the designer. Site levels, foundations and delivery need suitable professional assessment before interior dimensions are treated as final.
Prepare the making inventory:
- Typical project dimensions in flat and assembled states.
- Fabric, framing and cord storage requirements.
- Equipment and products, with their relevant instructions.
- The route for bringing supplies in and finished projects out.
Develop the workshop step by step
- Lay out the largest representative kite and measure every making stage.
- Draw the pattern, assembly, checking and storage areas together.
- Obtain advice on the site, approvals, building supports and proposed equipment.
- Confirm light positions, furniture installation and the door route using full-size project dimensions.
- Request a scope identifying the shell, fit-out, services, delivery and completion information.
Give lightweight ideas room to develop
Explore workshops and ask for a Newcastle proposal based on your kite-making sequence. An ordered materials system, clear assembly surface and generous exit route can make a compact garden workshop far more useful. The strongest design respects both the delicacy of the projects and the practical demands of building and installing their new workspace.
