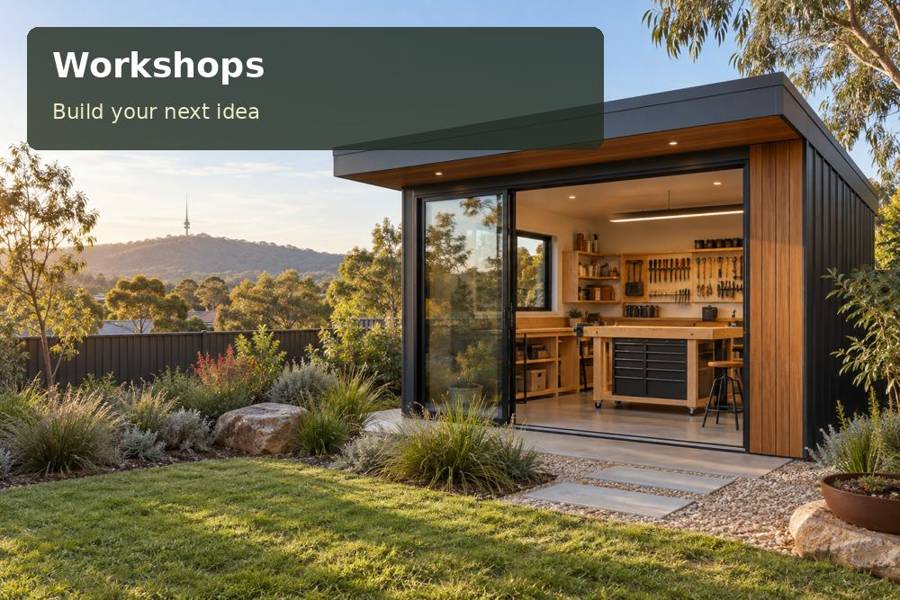
Create an Orange puzzle-making workshop with a clean assembly bench, labelled small parts and space to check finished sets systematically.
A wooden puzzle is assessed through fit, sequence and the way its pieces work together. In Orange, a workshop pod can provide a dedicated place for assembly, checking and organisation between making sessions. Define the actual processes and equipment before selecting the building. A room used for manual assembly has different requirements from one containing cutting or sanding machinery. The strongest brief gives the trades a clear description of the work rather than relying on the workshop label.
Follow one puzzle through its whole sequence
Lay out an unfinished set and identify where components are counted, assembled and inspected. Small parts need a consistent position so missing items are noticed before a project is considered complete. Keep the working surface clear enough to view the entire set at once. Label trays by project and stage rather than mixing parts in one general box.
Orange's garden and orchard landscapes can offer creative references for a maker's designs. They do not establish the suitability of particular timber or finishes. Obtain product and professional advice appropriate to the actual materials, intended users and construction. If puzzles are made for sale, the business and product requirements need their own assessment beyond the design of the room.
Separate assembly from other workshop activity
For New South Wales workshop proposals, record all activities intended for the space. Powered cutting, sanding, adhesives and finishes can introduce equipment and handling requirements that must be investigated. Supply relevant manufacturer's instructions and seek suitable advice on extraction, ventilation, electrical work and safe operation. Do not treat a generic pod as ready for every making process.
A clean checking position should remain available after work at other stations. Compare the expected number of active sets with the storage offered. Shelves and trays should fit the largest pieces, including partly assembled work. Discuss support, fixing and the working height with the fit-out team using actual dimensions.
Compare the puzzle workstations
| Station | Purpose in the project | Measurement to supply |
|---|---|---|
| Parts register | Counts and identifies components | Tray sizes and usual set quantity |
| Assembly bench | Allows pieces to be joined and compared | Largest assembled puzzle footprint |
| Final check position | Reviews completeness and operation | Viewing space and access around the set |
Keep completed work apart from items still awaiting assessment. A simple record can identify the date checked and outstanding tasks. If components are packed into a fitted box, include that process in the room plan. The packing surface may require more area than the puzzle itself once instructions, labels and packaging are present.
Provide light for careful comparison
Small joints and edges need illumination suited to their inspection. Trial a representative set beneath the proposed task light and note the shadows created by hands. General room lighting should also support movement and finding supplies. Window placement can contribute daylight while preserving wall space for orderly trays and shelves.
Coordinate the shell, moisture control and comfort strategy with the intended use. Your Home describes construction as a combined system of roof, walls and floor, which is useful when considering how the workshop performs beyond its external appearance. Arrange professional assessment of levels, supports, drainage and delivery access. Qualified trades should complete the required services for the actual equipment.
Prepare a making-and-checking inventory:
- Puzzle sizes, part quantities and active project numbers.
- All tools, devices and products used in the proposed room.
- Packing materials and the final inspection sequence.
- Storage, lighting and the working positions of users.
Develop the workshop through five decisions
- Follow a representative puzzle from loose parts to its packed condition.
- Measure assembly, inspection and packing with all equipment in place.
- Obtain advice on approvals, site conditions and the requirements of the actual processes.
- Coordinate benches, task lighting, ventilation and electrical installation through suitable professionals.
- Request a quotation identifying shell construction, fit-out tasks, exclusions and completion documents.
Make detailed projects easier to finish
Visit workshops and request an Orange proposal centred on your puzzle-making sequence. A clear parts register, stable assembly surface and independent checking position can give the workshop practical value. The result should be a documented space where ongoing work remains organised and the building specification reflects the activities actually undertaken.
